How to Install a Gate Valve in Industrial Piping Systems
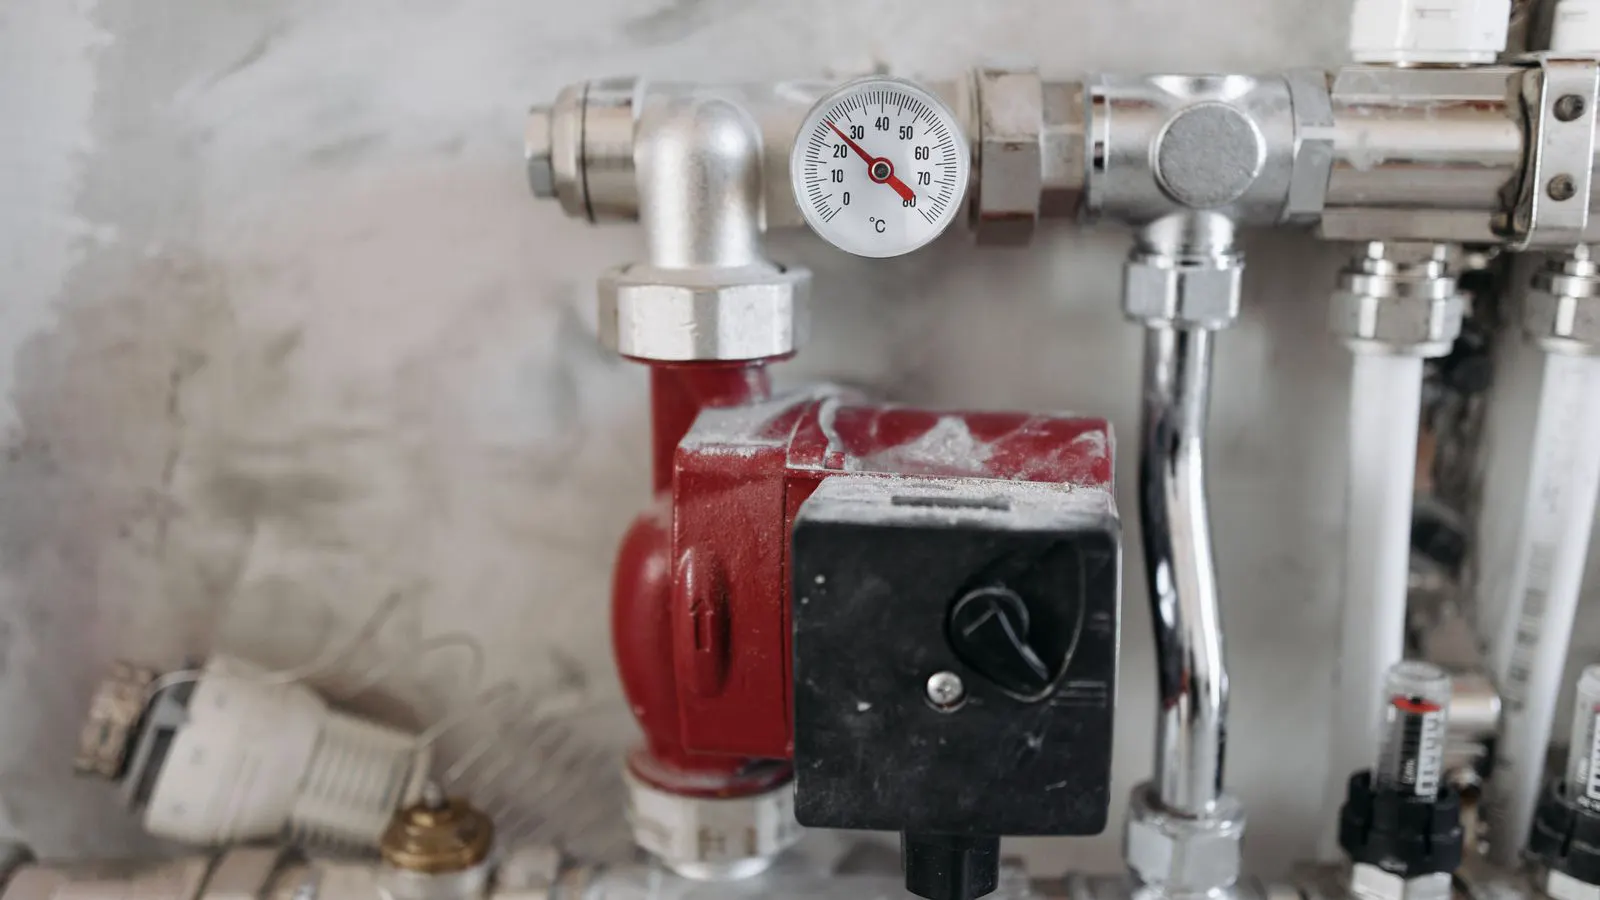
Proper gate valve installation requires checking the piping system, orienting the valve, and securing the body with correct torque. This guide covers the physical steps and final verification to ensure a leak-free, maintainable connection in industrial lines.
- Always install the gate valve in the correct orientation relative to the flow direction and support structure.
- Correct thread engagement and gasket selection prevent leaks at the flanged or threaded connections.
- A final verification step checks for alignment, torque, and free operation before commissioning.
Before You Begin: What You Need to Check
Do not start cutting pipe or bolting the valve until you have the valve datasheet, the piping isography, and a clear plan for support. A gate valve is a heavy, rigid component. If you weld it into a line without proper support, the pipe will sag and pull on the valve body over time.
Check the valve class and rating against the line pressure and temperature. A gate valve rated for a specific class must match the flange rating of the piping. Mismatched ratings create stress points that fail under thermal cycles.
You need the correct tools for the job. This usually means a pipe wrench, a torque wrench for flanged bolts, a dial indicator for alignment checks, and the correct gaskets. Use gaskets that match the flange surface finish and the service media. A soft gasket in a high-pressure service will crush. A spiral wound gasket in a low-pressure service may not seal properly if the surface is uneven.
Step 1: Isolate and Prepare the Piping System
De-energize the section of the line. Lock out and tag out any rotating equipment connected to the pipe. Drain and purge the line if the media is hazardous or if there is residual pressure.
Open the end of the pipe if you are replacing a section. If you are inserting a valve into an existing flanged joint, you must remove the old valve and clean the flange faces.
Clean the flange faces with a solvent or a fine abrasive pad. Paint, rust, and scale prevent the gasket from sealing. The cleaning area must extend beyond the bolt circle. If the flange faces are damaged, machine them or replace the flanges.
Step 2: Inspect the Valve Body and Seating Surfaces
Remove the valve bonnet before installation if possible. This allows you to inspect the gate and the seat. Look for pitting, scoring, or corrosion.
If the seat is damaged, the valve will not seat. A gate valve that does not seat leads to constant leakage, which corrodes the downstream pipe. You can repair minor pitting with a special tool, but heavy damage requires a new seat or a new valve.
Check the gate for binding. The gate should move freely in the guide. If the gate sticks, the valve will not open or close. A stuck gate is the most common reason for failed gate valves.
Step 3: Orient the Valve in the Piping
Mount the gate valve in the correct orientation. Most gate valves should be installed so the handwheel or actuator is accessible. Do not mount the valve upside down.
If the valve is for a vertical line, check the manufacturer’s instructions. Some designs require the valve to be installed with the bonnet on top. Others allow it to be mounted at any angle. Installing a valve upside down can cause the gate to stick due to gravity and sediment.
Support the valve before you connect it. A gate valve is heavy. If you rely on the pipe supports to hold the valve, the pipe will deflect. Install a saddle or a pipe stand under the valve body. This keeps the valve isolated from pipe movement.
Step 4: Align and Fit the Valve to the Flanges
Place the valve on the pipe flanges. Ensure the bolt holes line up. If they do not, you have a misalignment problem. Do not force the valve into position.
Check the alignment of the pipe and the valve. The pipe centerline should match the valve centerline. A misaligned connection puts eccentric loading on the valve body. This causes flange leaks and accelerates gasket failure.
Use shims or pipe spacers if the flanges are not perfectly aligned. However, shimming is a temporary fix. If the pipe is out of alignment, correct the pipe supports first.
Step 5: Install the Gasket and Bolts
Place the gasket on the flange face. For spiral wound gaskets, ensure the outer ring is on the flange face. For ring gaskets, orient the sealing surface correctly.
Start the bolts in a crisscross pattern. Do not hand-tighten all bolts to the same position. This prevents the gasket from shifting.
Tighten the bolts in a star pattern. This ensures even compression of the gasket. If you tighten one side first, the flange will tilt and the gasket will leak.
Use a torque wrench to reach the specified torque. The torque value depends on the bolt size, grade, and gasket material. Refer to the valve datasheet or the piping standard. Over-torquing can crush the gasket or strip the flange threads.
Step 6: Reassemble the Bonnet and Actuation
If you removed the bonnet, reassemble it now. Align the bolt holes in the bonnet and the body.
Install the bonnet gasket. This is a smaller gasket, but it must be clean and undamaged.
Tighten the bonnet bolts in a star pattern. The torque for bonnet bolts is usually lower than for the pipe flange bolts. Do not over-torque the bonnet. This can crack the valve body or the bonnet.
Install the handwheel or the actuator shaft. Ensure the shaft is centered in the handwheel bore. A misaligned shaft causes the handwheel to wobble and the packing to wear unevenly.
Step 7: Torque Check and Alignment Verification
Perform a final torque check on all flange bolts. Use a torque wrench. If a bolt was hand-tightened and not torqued, tighten it now.
Check the pipe alignment again. Use a dial indicator or a straightedge. The pipe should be straight. If the pipe is bent, the valve will see bending stress.
Check the valve operation. Turn the handwheel several times. The gate should move smoothly. If it sticks, stop. Do not force it. A stuck gate indicates a problem with the seat, the guide, or the alignment.
Common Mistakes to Avoid
The most common mistake is ignoring valve orientation. Installing a gate valve upside down causes sediment to settle on the gate. This prevents the valve from closing.
Another mistake is using the wrong gasket. A gasket that is too soft will crush. A gasket that is too hard will not seal on a rough surface.
Over-tightening the flange bolts is a frequent error. Engineers often assume that tighter is better. It is not. Excessive torque damages the gasket and the flange face.
Forgetting to support the valve is a structural error. A gate valve in a large pipe can weigh hundreds of kilograms. If the pipe sags, the valve body will crack.
Final Verification Step
After the valve is installed, run a pressure test. Use water or a non-flammable gas. Do not use steam for a final verification test.
Check the flanges for leaks. Use a leak detection fluid if the service is gaseous. Look for wet spots or hissing sounds.
Operate the valve from fully open to fully closed. Check for leakage at the bonnet and the body. If there is leakage, stop. Do not commission the line.
Check the pipe supports. Ensure the valve is supported independently. The pipe should not carry the weight of the valve.
If all checks pass, tag the valve. Record the installation date, the gasket type, and the torque values in the maintenance log. This data is critical for future maintenance.
| Component | Check Item | Acceptable Condition |
|---|---|---|
| Flange Gasket | Compression | Uniform, no visible gaps |
| Bonnet Gasket | Surface Contact | Clean, no debris or damage |
| Valve Gate | Movement | Smooth, no binding |
| Pipe Alignment | Centerline | Straight, no eccentric load |
| Flange Bolts | Torque | Within specified range |
When to Call a Professional
If the pipe is too large for two people to handle, call a professional. A large gate valve can cause serious injury if it shifts during installation.
If the valve is for a hazardous service, follow the site safety regulations. A gate valve in a toxic or flammable line requires specific procedures for isolation and venting.
If the valve does not operate smoothly after installation, do not force it. Call a qualified technician. Forcing a stuck gate can damage the seat and render the valve useless.
Maintenance Considerations
A properly installed gate valve is easy to maintain. A poorly installed valve will leak and fail.
Check the valve packing during routine maintenance. If the packing leaks, repack the gland. Do not over-tighten the packing gland. This will wear the stem and the gland.
Lubricate the gate guide if the design allows it. Use a lubricant that is compatible with the valve material and the service media.
Inspect the seat periodically. If the seat is worn, replace it. A worn seat causes leakage and corrosion.
Conclusion
Gate valve installation is a mechanical task that requires attention to detail. The valve must be supported, aligned, and torqued correctly. A proper installation ensures the valve will operate reliably for its service life.
Follow the steps in this guide. Check the datasheet, support the valve, and verify the operation. A well-installed gate valve is a long-term asset. A poorly installed valve is a future failure.
Frequently asked questions
Can a gate valve be installed in a vertical line?
Yes, but you must check the manufacturer's instructions. Some gate valves require the bonnet to be on top. Installing it upside down can cause the gate to stick.
What torque should I use for the flange bolts?
Use the torque value specified in the valve datasheet or the piping standard. The torque depends on the bolt size, grade, and gasket material. Do not guess.
Do I need to support the valve body?
Yes. A gate valve is heavy. If the pipe sags, it will pull on the valve body. Install a saddle or a pipe stand under the valve to isolate it from pipe movement.
How do I know if the valve is installed correctly?
Check the orientation, the alignment, and the operation. The valve should open and close smoothly. The flanges should not leak. The pipe should be straight.
Can I use any gasket for the flange?
No. Use a gasket that matches the flange surface finish and the service media. A soft gasket in a high-pressure service will crush. A hard gasket in a low-pressure service may not seal.